Network
This documentation is under development and it is not yet been approved by IST officially, therefore it may not be complete or have incorrect information and it will be regularly updated.
Floating IPs
Floating IPs are IP addresses that can be dynamically associated with an instance at any given time. Due to the architecture of VMCloud, these are public IPv4 addresses, i.e. IPv4 addresses reachable from anywhere in the world, and provide external access to VMCloud instances with private IPv4 addresses, i.e. addresses only reachable inside the Tecnico network.
The following instructions show how to manage floating IPs in the VMCloud web portal.
Check available floating IPs
Go to Network -> Floating IPs and the floating IPs allocated for the chosen project and region will be listed:
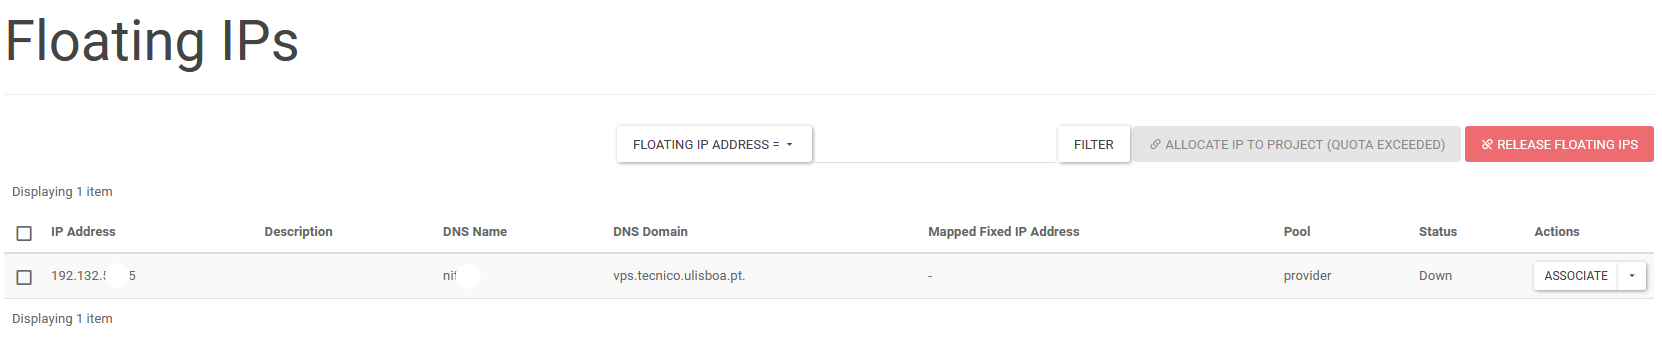
Each floating IP has an associated DNS record, which can be used to connect to the instance that has such floating IP associated.
If there are no floating IPs and you need external access to an instance, contact us at si@tecnico.ulisboa.pt requesting a floating IP for your project, where you can also indicate a DNS name for the floating IP, as a DNS record will be created automatically with the following form: [DNS name].vps.tecnico.ulisboa.pt.
Associate a floating IP
There are two possible ways to associate a floating IP via the VMCloud portal:
-
Compute -> Instancespage:Go to the dropdown menu of the desired instance and choose the
Associate Floating IPbutton:
Choose a available floating IP on the
SELECT AN IP ADDRESSdropdown menu and click onAssociate: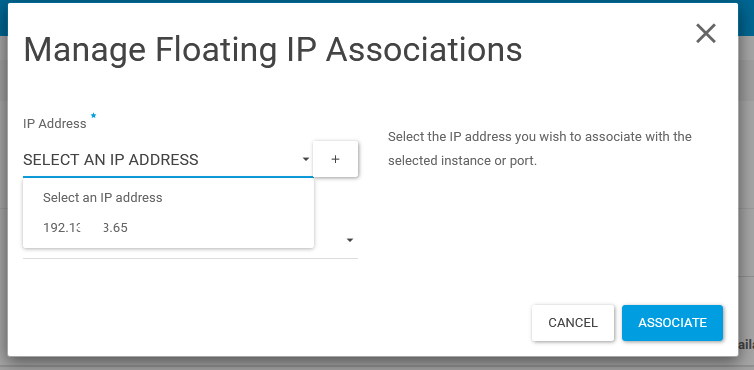
-
Network -> Floating IPspage:Click on the
Associatebutton: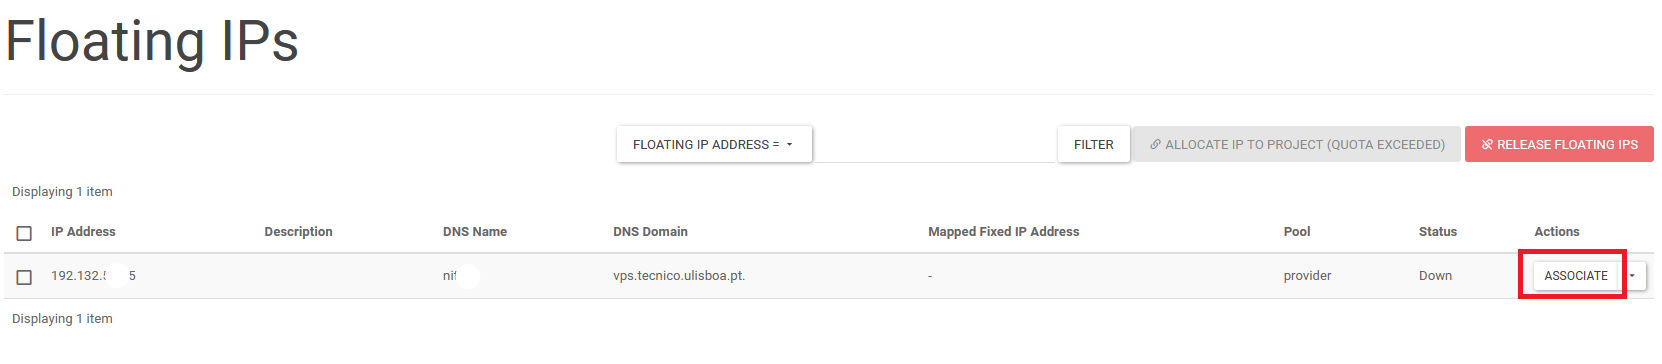
Choose the desired instance on the
SELECT A PORTdropdown menu and click onAssociate: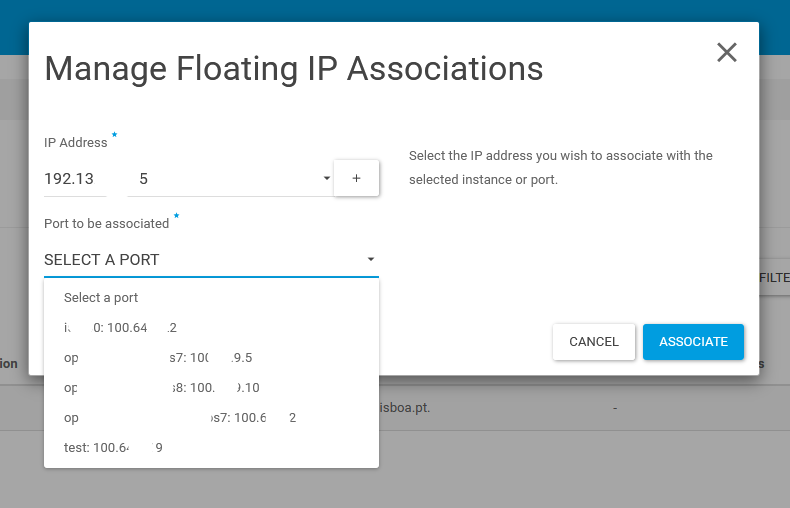
Disassociate a floating IP
If the instance is deleted while the floating IP is associated, the floating IP will be automatically disassociated and become available.
There are two possible ways to disassociate a floating IP from an active instance via the VMCloud portal:
-
Compute -> Instancespage:Go to the dropdown menu of the instance with the associated floating IP and choose the
Disassociate Floating IPbutton:
DO NOT check the box on the
Release Floating IPoption, just click on theDisassociatebutton to confirm the action: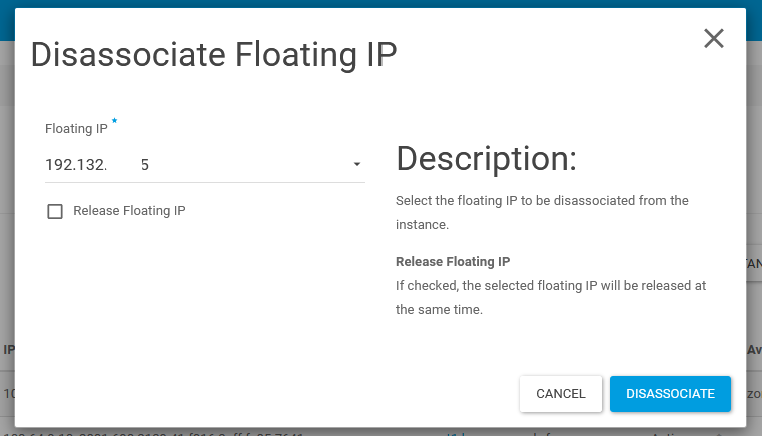
-
Network -> Floating IPspage:Click on the
Disassociatebutton of the desired floating IP: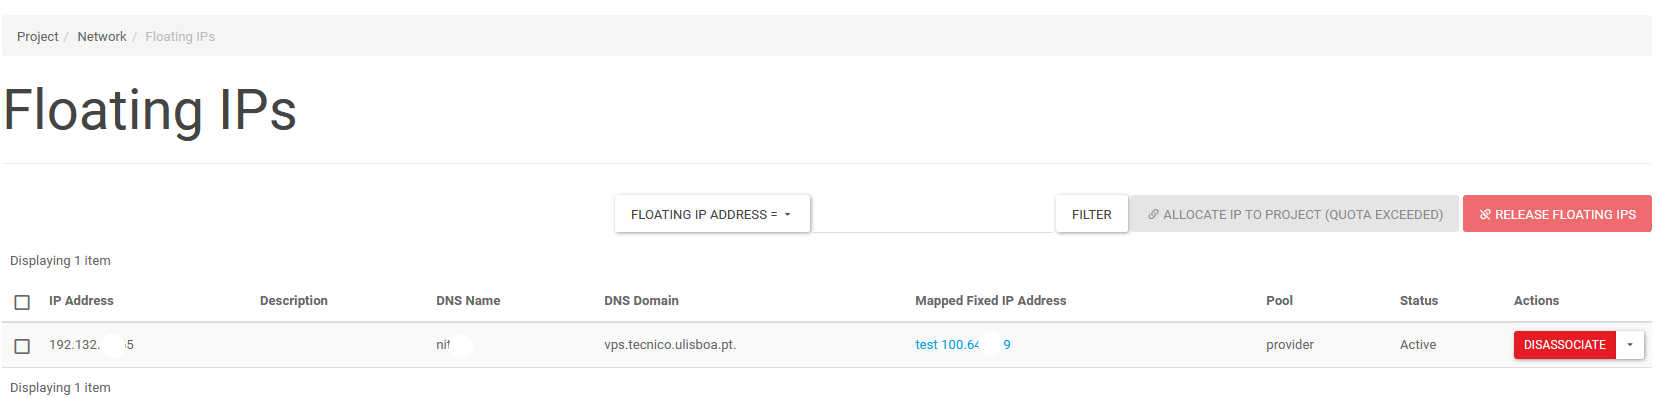
Click on the
Disassociatebutton to confirm the action: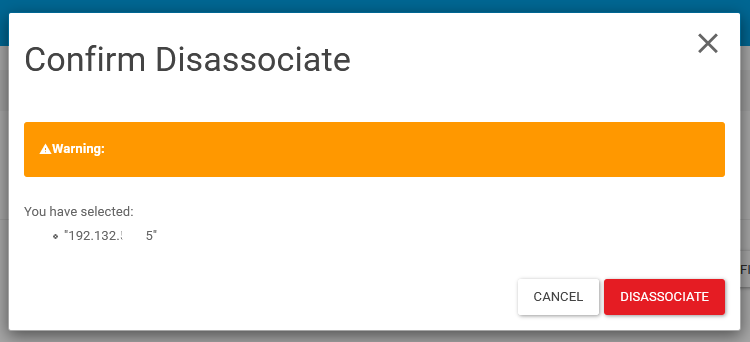
Security Groups
Add a rule to the default security group
This example procedure enables HTTPS access to instances. The rules apply to all instances with the “default” security group within a given project. This procedure can be adjusted as necessary to add additional security group rules to a project, if required.
Note: When adding a rule, you must specify the protocol used with the destination port or source port.
-
Log in to the dashboard.
-
Select the appropriate project from the drop down menu at the top left.
-
On the
Projecttab, open theNetworktab. TheSecurity Groupstab shows the security groups that are available for this project. -
Select the default security group and click
Manage Rules. -
Click
Add Rule.In the Add Rule dialog box, enter the following values:
Rule: HTTPS

Remote: CIDR

CIDR: 0.0.0.0/0
Note: To accept requests from a particular range of IP addresses, specify the IP address block in the CIDR box.
-
Click
Add.
Instances will now have HTTPS port 443 open for requests from any IP address.